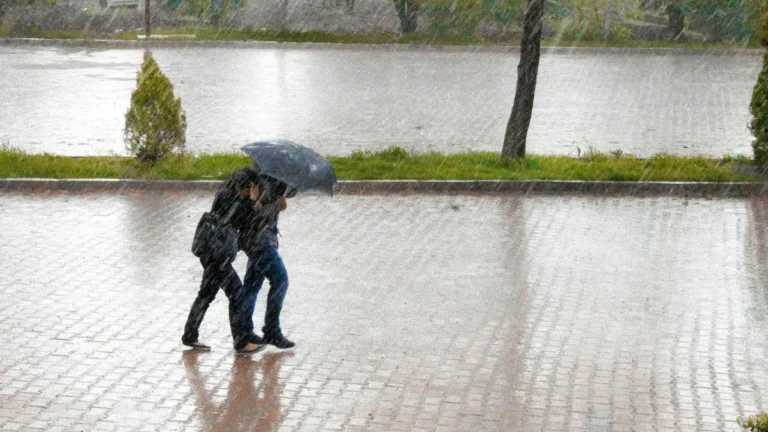
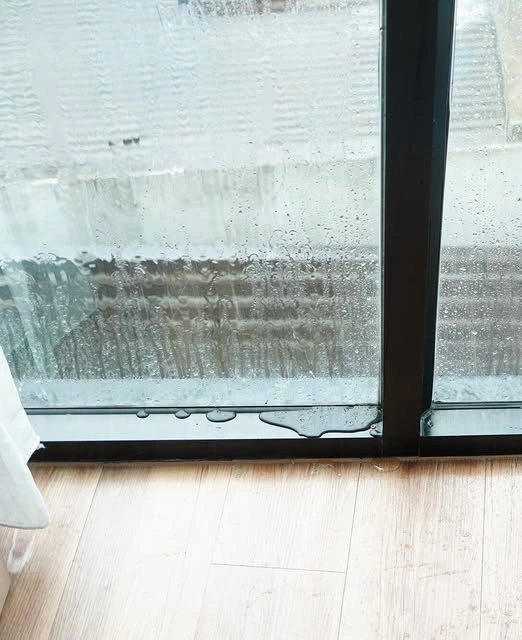
When it rains a lot and you see water gathering close to your sliding door, you know that sad feeling? or worse, discovering that water has been seeping in for an unknown amount of time after walking on a wet carpet.
Sliding doors are lovely additions to any house, but if they are not well secured during the rainy season, they may easily become trouble spots.
For the most part, protecting your sliding door from rain damage doesn’t require costly changes or professional help. you can keep your house dry and stay clear of the problems associated with water damage with a little care and easy preventive measures.
These simple fixes can help you properly weatherproof your sliding door, whether you’re dealing with an existing leak or want to stop issues before they occur.
Let’s explore ways on how to protect a sliding door from rain damage with practical guide that you never forgot in monsoon.
Why your Sliding Door Leaks
Let’s first examine the causes of sliding door leaks before moving on to fixes.
The main problem is the track system. these tracks include tiny drainage holes to let collected water to escape, and they are low to the earth. then what’s issue? The particles and dirt block these openings. when that occurs, water that has to flow out instead gathers and eventually leaks into your house.
Over time, weatherstripping decreases. your door frame’s rubber seal? temperature changes, lack of sunshine, and continuous sliding all cause it to slow down. Water enters through the cracks once it begins to peel or split.
Long-term issues are caused by poor installation. You’ll struggle with water getting in for years if your door wasn’t placed with the right slope or the frame wasn’t properly sealed.
Age is important. simply put, modern weatherproofing technology was not used in the making of older sliding doors. you’re past due if you haven’t performed any maintenance on your door in over 10 years.
Steps to waterproofing a sliding door during monsoon
Step 1 – Check and Replace your Weatherstripping
This is the simplest solution and your first line of defense.
Enter your closed sliding door and feel the edges with your hand. Do you notice any drafts? Can you get a look of daylight? Water can enter via the spaces.
How to determine whether new weatherstripping is required:
- Is it breaking, cracked, or hard?
- When your door is closed, are there any visible gaps?
- Do you feel something passing through?
If you answered yes to any of these, it’s time to replace it.
Replacing weatherstripping is actually simple:
- First, get rid of everything unnecessary. While some varieties are simply taken off, others need scraping away with a tool knife. After using a wet towel to clean the area, allow it to fully dry.
- Get silicone or vinyl weatherstripping from any hardware shop. These are more waterproof than foam alternatives, which is important during the rainy season.
- Cut the weatherstripping to fit your door frame after measuring each side. The majority have an adhesive backing, so all you have to do is remove and fix. Work your way down the sides from the top.
- Make sure the weatherstripping is slightly compressed when you close the door. The necessary seal is produced by such compression.
Step 2 – Clean your Track System (Most important)
Smooth sliding is only one part of your sliding door track. In reality, it’s a drainage system.
Take a seat to look over your track. Dirt, leaves, tiny stones, pet hair, and other material are likely to be found. This material prevents the track’s built-in drainage holes. When it rains a lot, water backs up and can only enter your home.
Here’s how to clean it properly:
- To get rid of loose particles, use a vacuum with a brush attachment. Explore each and every corner.
- Use a wet towel to clean the whole track. Be very mindful of those little drainage holes. To remove barriers that are difficult to remove, you may require a toothpick or tiny wire.
- While you’re down there, look for damage. Check for portions that are twisted, bent, or damaged. You may take care of minor problems on your own, but major damage requires expert care.
- Create a routine for this. problems are avoided by doing a quick vacuum and wipe once a month. to make sure your drainage system functions when you need it, give it a thorough cleaning before the rainy season.
Step 3 – Apply Waterproof Sealant to Fill Gaps
Tiny cracks appear at the areas where your door frame and wall meet over time. Rain finds out these gaps and enters.
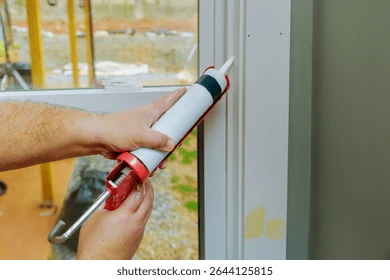
You should apply a coating with a silicone basis. It stands up to UV exposure without degrading rapidly and remains flexible in a variety of temperatures. It is available in tubes that suit typical glue guns at any hardware shop.
Before applying new sealant:
- Use a chef’s knife to remove old, broken plaster.
- Use rubbing alcohol to clean.
- Allow it to fully dry.
Every connection where the frame joins the external wall should have sealant applied in a smooth, continuous bead. If you’ve never sealed before, start with cardboard. For a clean finish, you can use a wet finger to smooth the bead.
Pay attention to the top and sides, which are the areas most affected by wind-driven rain. Since the track handles water, the bottom next to it often doesn’t require outside sealant.
Before testing with water, let it cure for 24 to 48 hours. The seal won’t function if you rush this.
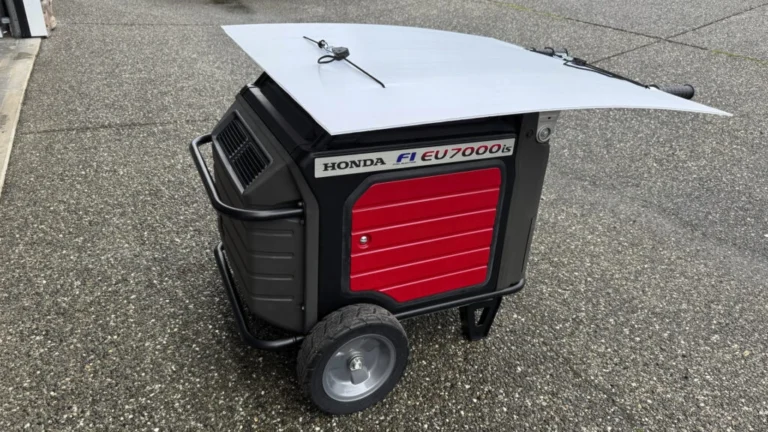
Step 4 – Install a Rain Guard
The best barrier to attack? Prevent rain from ever directly hit your door.
A little overhang has an impact. your seals will have an easier time and the track won’t be wet if there isn’t a lot of rain touching your door during storms.
Your options:
- A tiny slope that prevents rain is created by placing basic rain deflectors immediately above the main frame. Installation takes an hour and costs between $30 and $50.
- During hot weather, flexible curtains offer significant shelter and shade. Cost like several hundred dollars, however they also lower cooling expenses.
- Permanent overhangs provide useable outdoor area and totally relieve the rain problem. they are the best option, but they are more costly and may require expert installation.
Step 5 – Improve Ground Drainage around your door
Even the smallest cracks will ultimately allow water that is collecting close to your door to enter.
Check the ground surrounding your sliding door by going outside. When it rains, does water collect there? Is the earth sloping in the direction of your door rather than away?
The earth should begin to shift away from your home. Water may now flow off instead of gathering. Usually, a drop of one inch over six feet is sufficient.
Additionally, inspect your gutters. Water may fall close to your door due to overflowing clogged gutters. Make sure downspouts divert water away from your house and clean them on a regular basis.
If the problem is major, think about installing a French drain or drainage channel next to your entrance. Excellent protection by catching water before it hits the door, but more work.
Step 6 – Create a simple maintenance routine
There isn’t a single, extreme solution to long-term protection. it’s regular maintenance that finds minor issues early.
Before monsoon season:
- Check and replace weatherstripping if necessary.
- Clear drainage holes and completely scrub tracks
- Use a flexible tube to test and identify any weak areas.
During monsoon season:
- Fast inspections following extreme weather
- Make sure the holes aren’t blocked and clean the tracks.
- Keep an eye out for wetness on the floor near the front door.
After monsoon season:
- A careful inspection to determine any damage
- Resolve problems before the upcoming rainy season.
- If necessary, apply new sealants.
Quick Emergency Fixes when water gets in
Severe storms may result in some attacks even with maintenance.
- Towels may be used to make a temporary barrier at the base of the door during a storm. It stops water from spreading but won’t stop the leak.
- To avoid mold, completely dry everything after the storm using fans and dehumidifiers Look for areas where water may have spread, such as under furniture and in corners.
- Determine the point of entry point, whether it can be Track or Weatherstripping or Frame? This indicates what needs to be fixed.
- In an emergency, leaks can be stopped with plastic sheeting or waterproof tape while the necessary repairs are made.
If leaks continue even after maintenance, you may have structure problems that require expert evaluation.
What will be Bottom Line on Door Protection
The simple reality is that minor, continuous attempts avoid large, costly issues.
The majority of the solutions I’ve published take less than two hours and cost less than $50. Weatherstripping costs $20. It takes half an hour to clean. Ten dollars and an hour are needed for sealant. A simple rain guard may be completed in a weekend.
When combined, these provide many levels of defense that keep your house dry during intense monsoon rains.
First, start with the simplest solutions: Track cleaning and weatherstripping have an instant effect. Then, as time and funds let you implement more measures.
Every time, prevention is preferable to repair. You won’t ever have to deal with costly water damage, mold issues, or floor replacement expenses due to continuous leaks if you pay a little attention today.
When it rains, your sliding door may be a lovely feature without being a problem. It only requires routine maintenance to continue performing its duties effectively.
How often should I replace weatherstripping on sliding doors?
Every two to three years, or as soon as you see gaps, stretching, or cracks, you should replace the weatherstripping. you can check it every year in places where the monsoon season is strong. Regardless of age, replace your closed door if you notice drafts or daylight around it.
Can I fix a leaking sliding door myself?
Yes, most leaks can be fixed with do-it-yourself fixes including sealing, cleaning tracks, and replacing weatherstripping. These are less than $50 and don’t require any particular abilities. only contact experts if the door won’t close correctly, the frame is broken, or leaks continue after repairs.
What’s the best sealant for sliding doors during monsoon?
The best exterior sealer is silicone-based. It forms a waterproof barrier, resists UV damage, and maintains its flexibility in the face of temperature variations. you should look for goods that are marked “all-weather” or “exterior weatherproof.” and also stay clear of internal sealant, which breaks down rapidly in the presence of rain.