Heat pumps can freeze up in cold weather, as you are already aware, and you’ve certainly heard that the built-in freeze cycle takes care of it automatically.
The majority of homeowners are not aware that a particular type of freeze danger is created during the rainy season, which the defrost cycle alone may not always be able to overcome. As a result, your system will have to work harder, cost more to operate, and be closer to an expensive failure.
With a step-by-step checklist, clear indicators of safe vs hazardous ice, and the necessary equipment to keep your system operating effectively throughout the season, this book will teach you exactly How to protect heat pump freezing during the rainy season.
- What is Heat Pump Freezing and Is it always a problem?
- Why protecting your heat pump from freezing during the rainy season matters?
- How to inspect your heat pump before the rainy season starts?
- Step-by-Step: How to protect your heat pump from freezing in rainy weather
- What to do If your heat pump is already frozen solid
- Tools and Products that help protect heat pumps in wet weather
- How often should you check your heat pump during cold, wet weather?
- What's next: building your rainy season heat pump maintenance routine
What is Heat Pump Freezing and Is it always a problem?
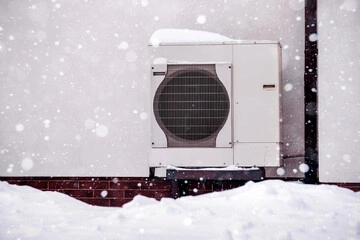
Heat pump freezing happens when moisture in the air evaporates and freezes on the coils of the outside unit, creating a coating of frost or ice that lowers heating capacity and airflow. Freezing is not always harmful. In actuality, your device is built to automatically handle a thin, uniform layer of frost on the exterior coils, which is a perfectly typical element of how heat pumps extract heat from cold air.
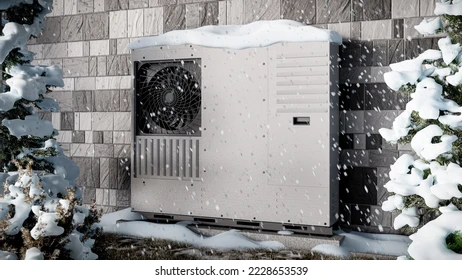
The key contrast is between harmful ice formation and normal freezing. Typical frost appears as a thin, uniform coating on the coil fins. during the unit’s automated chill cycle, it usually clears in ten to thirty minutes. On the other hand, dangerous ice growth is thick, covers more than one-third of the unit’s surface, restricts the fan blades, or doesn’t go away for several hours.
Because the rainy season combines three conditions that are particularly difficult on heat pumps permanent humidity that loads the coils with moisture, temperatures that are close to the freezing point (the sweet spot where ice forms fastest), and standing water or not enough drainage around the unit’s base freezing is much more likely. On a 36°F wet night, a heat pump that would work properly on a dry 28°F day may entirely freeze.
“A heat pump freezes up during the rainy season when persistent moisture, temperatures hovering near 32°F (0°C), and blocked drainage overwhelm the unit’s automatic defrost cycle, causing ice to accumulate on the outdoor coils and restrict airflow.”
Why protecting your heat pump from freezing during the rainy season matters?
If ice formation is ignored, a frozen heat pump may not only work poorly but also experience costly, long-term harm. compressor failing is the biggest danger. the heart of your heat pump system is the compressor, which is also the most costly part to replace, usually costing between $1,500 and $2,500.
Furthermore, a frozen unit is incredibly ineffective. the U.S. Department of Energy claims that even a partial ice blockage can cause a heat pump to use 25–50% more power while producing less heat.
There are safety issues in addition to expense. A frequent freezing and cooling stress can cause microfractures in refrigerant lines, which can result in leaks that affect performance and need to be fixed by EPA-certified specialists. the solution is easier and less expensive the earlier you address freezing danger.
How to inspect your heat pump before the rainy season starts?
The best way to avoid damage from freezing during the rainy season is to do a pre-season check, which often takes less than half an hour. finding a dirty coil, a clogged drain pan, or a unit filled with material before the temperature drops will solve a $0 issue rather than a $2,000 one.
What homeowners can check themselves
First, go around the outside unit and remove any dirt, sand, leaves, or grass clippings from the coil tail and nearby areas of the unit. For optimal airflow, there must be at least 18 to 24 inches of space on each side. Secondly, check the drainage pan and base under the unit.
The risk of freezing increases dramatically if water is collecting under or around the unit instead of draining away. make sure the unit is positioned on a raised platform rather than directly on soil or low cement that may flood, and that the drain ports are clean.
Third, check the coil fins visually. they need to be clear and straight. A fin comb, which costs less than $15 at hardware stores, may be used to slowly straighten bent fins. Fourth, launch the system and pay attention. Before the cold arrives, unusual rattling, grinding, or a fan that appears to struggle are early indicators of a mechanical issue.

What a professional should check
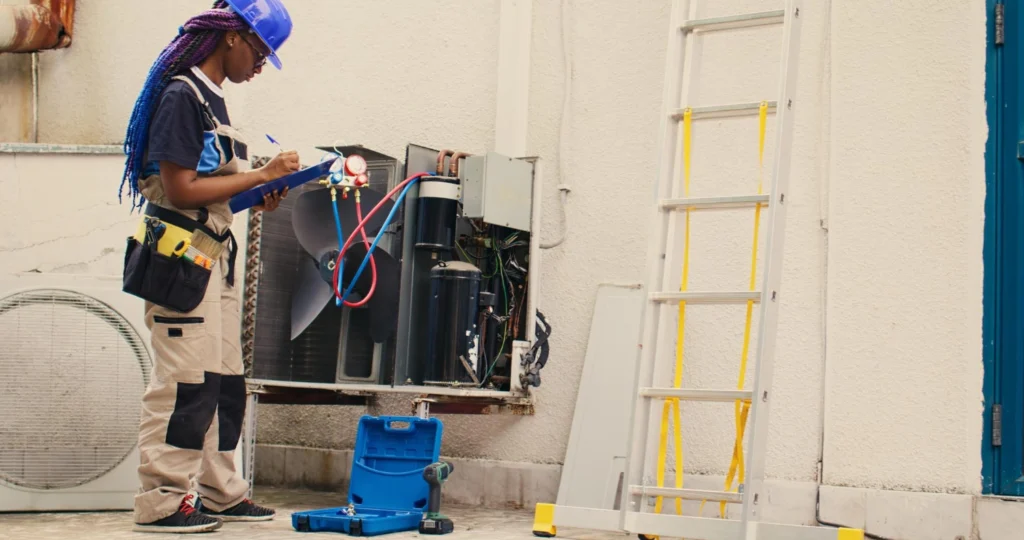
Contact a certified HVAC specialist for anything that goes beyond the visual inspection. In particular, a professional should inspect electrical connections for corrosion that might be increased by wet weather, test the freeze board and sensors for proper operation, and confirm refrigerant charge levels (low refrigerant significantly increases ice risk). According to studies, heat pumps that receive yearly expert maintenance are 40% less likely to experience a significant failure.
Step-by-Step: How to protect your heat pump from freezing in rainy weather
Protecting a heat pump from rainy-season freezing involves a combination of physical setup improvements, routine cleaning, and system monitoring and most of which homeowners can handle without professional help. To create the best protection possible before the rainy season starts, follow these steps.
Step 1: Ensure Proper Clearance and Airflow
The most important element in prevent heat pump freeze-up is enough air circulation. The unit must be able to draw in and exhaust air freely on all sides. Any plants, fence panels, or buildings that have entered within 18 to 24 inches of the unit should be trimmed back. there should be nothing blocking the fan discharge, therefore pay close attention to the top of the device. In areas with heavy rain, overhanging eaves can redirect large volumes of water directly onto the unit and redirect downspouts or install a small rain deflector above (but not touching) the unit to minimize direct water impact.
Step 2: Elevate the unit above flood level
When it rains a lot, a ground-level heat pump is affected by collecting water, which can submerge the base, block the drain pan, and produce the standing moisture conditions that virtually guarantee freeze-up.
Consider hiring an HVAC expert to add brackets or a raised mounting pad to raise your unit four to eight inches if it is situated on a low slab. this is particularly important in regions with slowly draining clay soil.
Step 3: Clean the coils before wet season
Because buildup insulates the refrigerant lines and affects the effectiveness of the defrost cycle, dirty coils are considerably more likely to ice than clean ones. you may use a coil cleaning spray (available at home improvement stores; no-rinse foam kinds work well) sprayed to the vents from the inside out for a light clean. For heavily fouled coils, professional cleaning with a pressure wash is more effective.
Step 4: Check the defrost drain pan and drainage path
The defrost drain pan collects water when the heat pump melts ice from its coils, and if that pan is blocked by debris or the drain hole is clogged, water backs up and re-freezes. During the winter months, check the pan every quarter. A blocked drain hole may generally be cleared with a simple pipe cleaner or an explosive of compressed air. Make sure the drainage system directs water downwards and away from the base of the unit rather than toward your foundation.
Step 5: Use a Ventilated Rain Guard (not a solid cover)
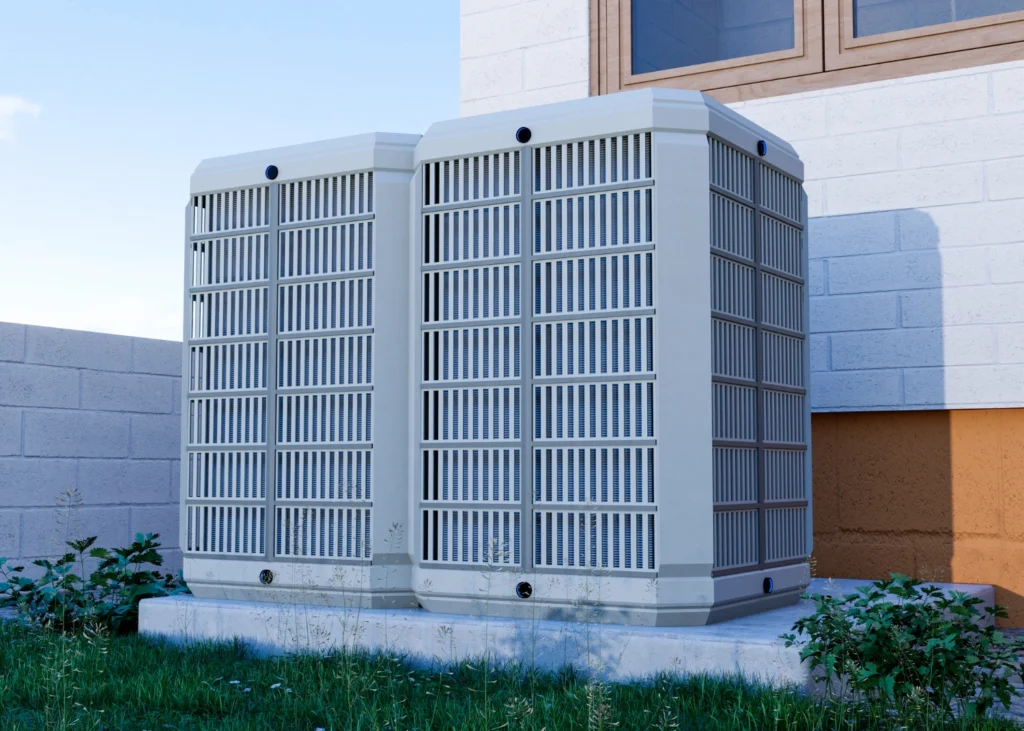
The key difference between a solid blanket or cover and a purpose-built heat pump rain guard is that the former may drastically decrease direct rain and material movement without blocking airflow. Rain guards are louvered or open-sided structures that are positioned above the unit, allowing air to circulate on all four sides while diverting downward rain. A solid cover, plastic sheet, or closed box should never be placed around a heat pump that is operating or in standby mode since this would block airflow, which will overheat the compressor and thereby cause more ice.
Step 6: Monitor the Defrost Cycle
In chilly, humid weather, a healthy heat pump will start a freezing cycle every 30 to 90 minutes, lasting 10 to 30 minutes each time. You can see this any frost on the coils should clearly decrease inside the cycle window, the exterior fan will stop, and you could hear a shift in system noises. There is a problem with the defrost sensor, the defrost board, or the refrigerant charge if you detect frost or ice that doesn’t go away after a full cycle or if defrost cycles appear to be happening continuously (every few minutes).
What to do If your heat pump is already frozen solid
If your heat pump is already covered in ice, preventing more damage should take priority over forcing a quick melting. To keep your house warm when the outdoor unit is offline, first put the heating system in emergency heat or auxiliary heat mode. Next, completely shut off the heat pump’s outside unit and let it cool down on its own. Once the unit is turned off and the temperature is above freezing, ice usually melts in 1 to 3 hours.
You should avoid using a heat gun or hair dryer, pouring hot water on the coils, or using a tool to chip at the ice. Thermal shock from hot water can fracture coil fins, and physical chipping can bend fins or puncture refrigerant lines, converting a scenario that can be recovered into a repair that costs more than $1,000.
If the ice does not go away after three hours of natural freezing, the fan blades are covered in ice (which might indicate motor damage), or you hear a clicking sound or see greasy residue close to the coils signs of a refrigerant leak so call an HVAC expert right away. These situations exceed beyond do-it-yourself projects.
“Ice that covers more than one-third of the outdoor unit’s surface, persists for longer than two hours, or blocks the fan blades is not a normal defrost cycle condition and indicates a malfunction requiring professional HVAC service.”
Tools and Products that help protect heat pumps in wet weather
Rainy-season heat pump protection is made simpler, more efficient, and frequently automated with the correct equipment and supplies. here are some items to think about include in your maintenance toolbox.
Physical Protection Products
- Ventilated rain guards/canopies: Brands like Calmini and MRCOOL make model-specific guards; universal fits are available through HVAC supply stores. Expect to pay $40–$120.
- Elevated base pads: Composite or recycled rubber pads raise units 4–6 inches above ground level and resist water absorption better than standard concrete pads.
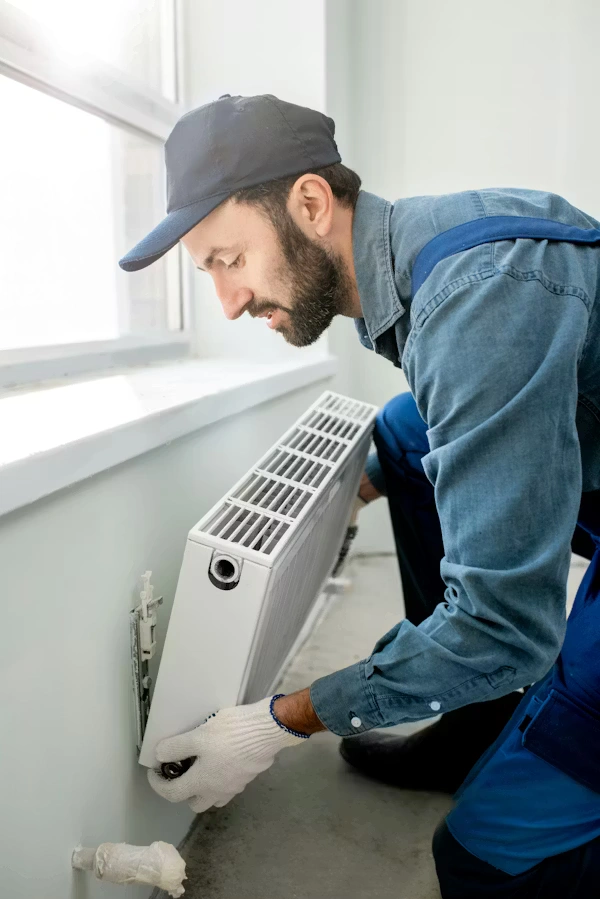
- Coil fin combs: Inexpensive ($10–$20) and essential for straightening bent fins that trap moisture and ice.
- No-rinse coil cleaner spray: Products like Nu-Calgon Coil Cleaner foam up and drain away without requiring a hose ideal for quick seasonal maintenance.
Monitoring and Smart Controls
- Smart thermostats with freeze alerts: when the outside unit has been in defrost mode too frequently, some current thermostats (Ecobee, Nest) can notify you of a possible issue before it turns into a freezing failure.
- Frost sensors: Standalone frost sensors mounted near the unit can alert you via app when temperatures at the unit’s location drop to the danger zone, giving you time to check before ice forms.
An annual HVAC maintenance contract (usually $150–$300/year) provides pre-season professional inspection, coil cleaning, and priority service in the event of a freeze-related breakdown in the middle of the season for homeowners wanting hands-off protection.
How often should you check your heat pump during cold, wet weather?
It takes less than five minutes to look at your heat pump every two weeks throughout the wet season, and it detects most new problems before they become costly ones. check the unit, look for ice formation (particularly on all four coil panels and around the base), make sure airflow isn’t blocked, and listen for any strange noises. the simplest preventative behavior you can develop is this two-minute check.
In addition to the biweekly visual, once a month during the wet and cold seasons, plan a thorough hands-on inspection that includes cleaning particles, inspecting the drain pan, and wiping off accessible fins. Every year, schedule a professional check that includes freeze system testing and refrigerant verification, preferably in early fall before the rainy season starts.
What’s next: building your rainy season heat pump maintenance routine
Regular maintenance, compared to reactive repairs, is the best defense against heat pump freezing during the wet season. to begin, set up two calendar reminders: one for a professional inspection in early fall and another for your own monthly check from October through March (or the equivalent during your local rainy season).
Regular maintenance, compared to reactive repairs, is the best protection against heat pump freezing during the wet season. First, set up two calendar reminders like one for a professional inspection in early fall and another for your own monthly check every month from October through March (or the same level during your local rainy season).
Here’s a simple seasonal maintenance schedule to follow:
Before Rainy Season (September–October):
- Book professional HVAC inspection (defrost board, refrigerant, electrical)
- Clear all debris within 24 inches of the unit
- Clean coil fins with coil cleaner spray
- Check and clear the drain pan and drainage path
- Verify the unit is elevated and the base area drains well
- Install or inspect your rain guard
During Rainy Season (Monthly):
- Quick visual check for ice accumulation (biweekly)
- Clear any fresh debris from around the unit
- Listen for unusual operating sounds
- Observe at least one defrost cycle to confirm it’s clearing properly
After Rainy Season (Spring):
- Clean coils again after a full wet season
- Check fin condition and straighten any bent fins
- Inspect base pad and drainage for any settling or damage
Disclaimer: This article was initially drafted using AI assistance. however, the content has undergone thorough revisions, editing, and fact-checking by human editors and subject matter experts to make sure accuracy.
Can heavy rain damage my heat pump’s outdoor unit?
A well-maintained heat pump is rarely damaged by heavy rain alone since outside systems are built to handle rainy conditions. However, the cooling process may be overcome by heavy, intense rains and temperatures close to freezing, which might result in harmful ice formation on the coils. The two main concerns associated with rain are water collecting at the base of the unit, which speeds up freezing from below, and rainfall-driven material blocking the drainage pan and coil fins.
How do I know if my heat pump’s defrost cycle is working correctly during the rainy season?
Before the fan restarts, a working system cooling defrost cycle will stop it, run for 10 to 30, and clearly remove any ice from the coil surface. This should occur every 30 to 90 minutes in chilly, humid weather. A certified HVAC expert should look at the unit right away if you see ice that hasn’t cleared after a complete cycle, if freeze kicks in every few minutes, or if the unit is frozen over for longer than two hours. These signs suggest that the defrost sensor or control board may have failed.
Should I turn off my heat pump if it freezes during the rainy season?
In reality, the best plan of action is to turn off the outside unit and set your thermostat to emergency or additional heat mode if your heat pump has frozen solid. As a result, there is no more strain on the compressor and the device may thaw naturally. If the outside temperature is above freezing, the majority of units will clear in one to three hours after being turned off. Avoid using a heat gun or hot water to speed up the thawing process as this might damage refrigerant lines or shatter coil fins. Contact an HVAC specialist if the ice doesn’t go away after three hours.