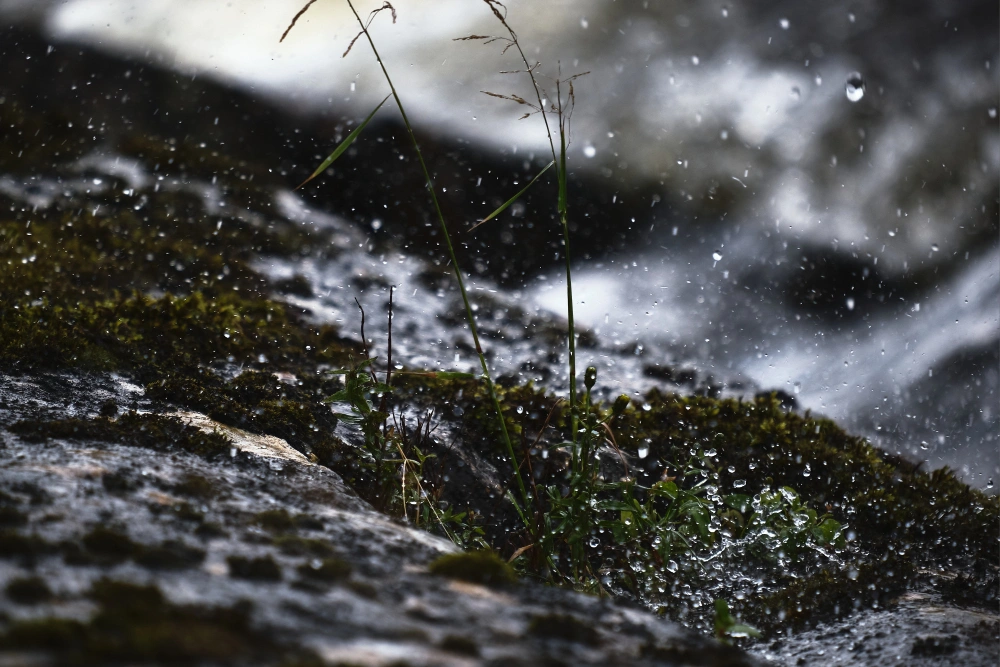
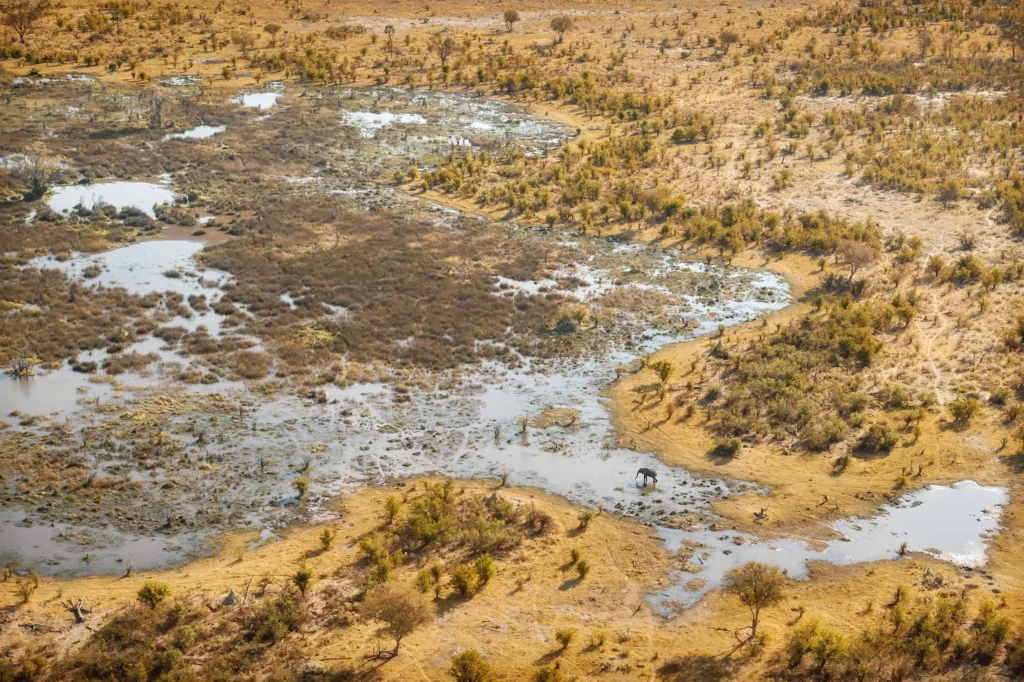
For gardens, heavy rain has two disadvantages. you don’t have to carry out the pipe, on the one hand. however, a lengthy rain can leave your soil dry, wet, low in nutrients, and compacted, far from the loose, airy, living medium that plants require for proper growth.

You’re not the only one who has noticed that your garden appears more like a pond than an active community after a significant storm.
It is definitely resolvable. It just requires determination, the appropriate methods, and a knowledge of what’s truly going on under the surface. we’ll go over every action you need to take in this guide to learn how to fix soil after heavy rain, from the instant the rain stops to the long-term tactics that permanently make your soil storm-proof.
- What does heavy rain actually do to your soil?
- Step 1: Stop, Wait, and Assess (Don't rush in)
- Step 2: Consider safety and contamination
- Step 3: Tackle Soil Composition
- Step 4: Break Up Soil Crust
- Step 5: Restore Low Nutrients
- Step 6: Cover the Surface with Sand
- Step 7: Improve Drainage for the Long Term
- Step 8: Deal with Erosion on Slopes
- Frequently Asked Questions (FAQs)
What does heavy rain actually do to your soil?
Understanding the damage is helpful before making any repairs. When a lot of rain falls on your garden, many things happen once.
The main one is pressure. microscopic pore gaps between soil particles become saturated with water, and once the structure is compromised, any foot movement or machine weight crushes those holes, forcing out the air that plant roots so badly require.

Because clay soils’ small particles readily compress and retain water, they are particularly sensitive. If rainfall is intense enough, even sandy soils might be negatively impacted.
Nutrient leaching is another silent culprit. Heavy rain washes mobile nutrients especially nitrogen deep down through the soil profile, well beyond root reach. After a serious storm, your soil can be significantly depleted even if it looks fine on the surface.
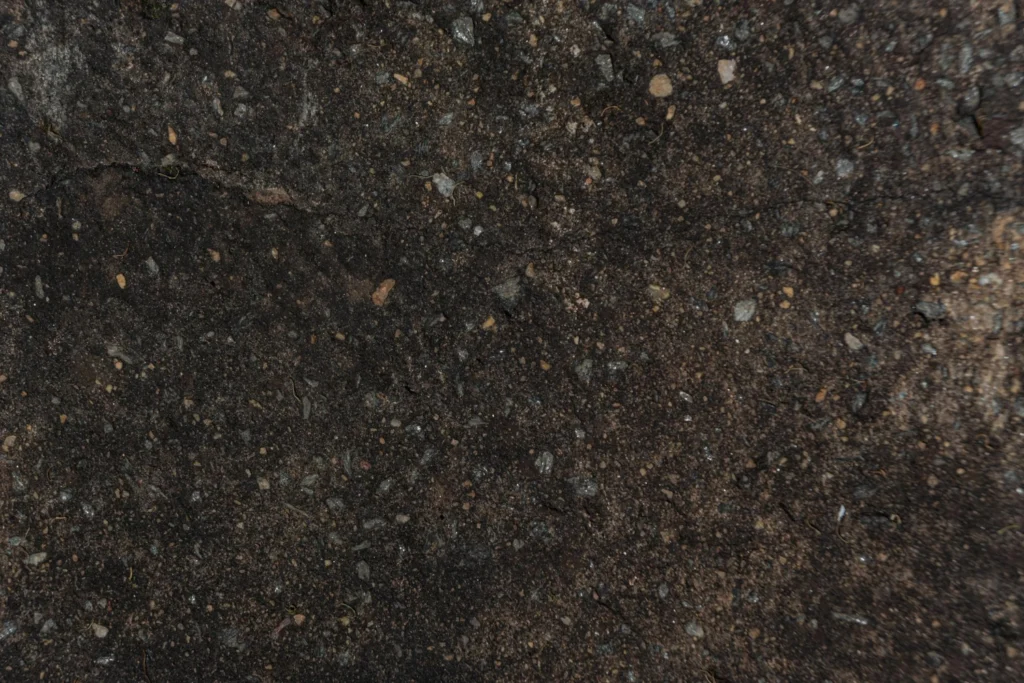
Soil crusting happens as rain droplets literally smash the surface soil structure. As that surface dries, it forms a hard crust that blocks seedling emergence and prevents future water absorption.
Step 1: Stop, Wait, and Assess (Don’t rush in)
The most important piece of advise is to avoid working or walking on soggy soil. It can look natural, yet there is a great desire to make things right right away. just deny it. every step on damp, soggy soil compresses those small pore spaces, resulting in long-term structural damage that may take several seasons to repair.
Allow the water to naturally drain depending on the kind of soil and the amount of rain, this might take a few days or even a few weeks. take a pinch of dirt and squeeze it for this easy test. It’s possible if it breaks when you open your fist. It is still too moist if it remains in a tight, sticky ball.

While you wait, visually check the bed from its corners:
- Is there still standing water?
- Are plants showing yellowing leaves?
- Is there a hard, grey crust forming on the surface?
- Do you see any ruts, bare patches, or signs of erosion on slopes?
You will be able to determine which of the following fixes should be your top priority based on your first review.
Step 2: Consider safety and contamination
Treat the water as possibly polluted if it came from overflowing drains, rivers, or flooded streets as opposed to direct rainfall. Pollutants such as fuel residue, sewage, and infections can be carried by floodwater. In this scenario:

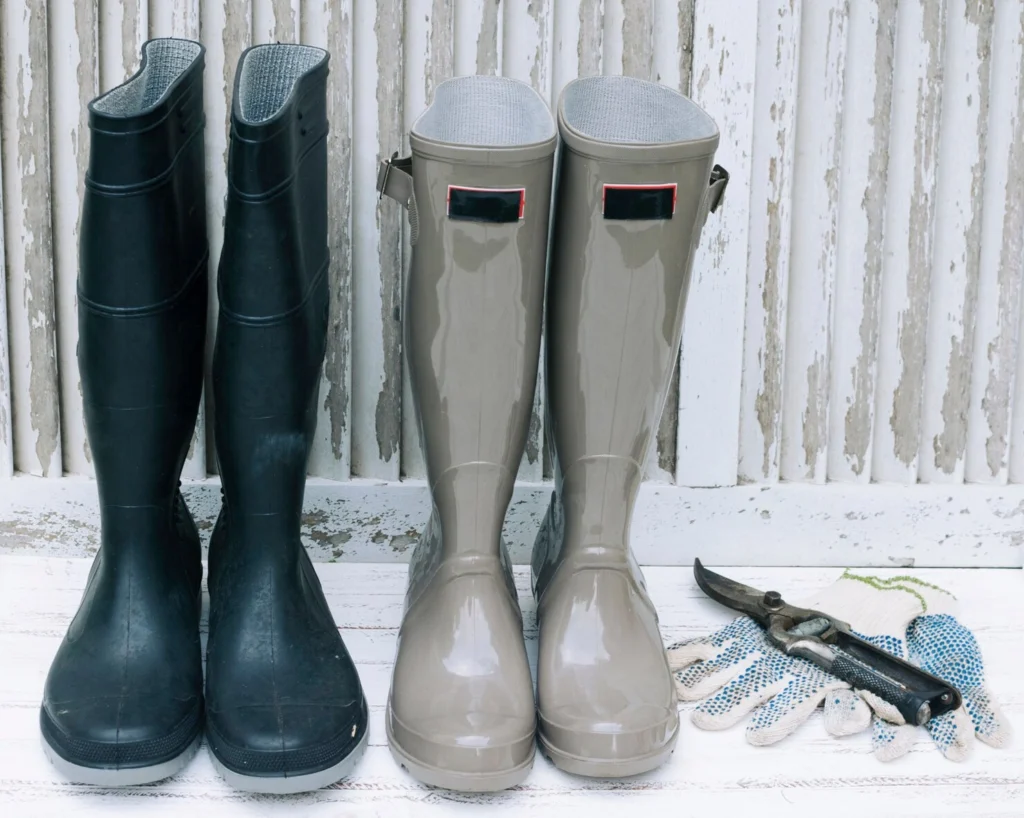
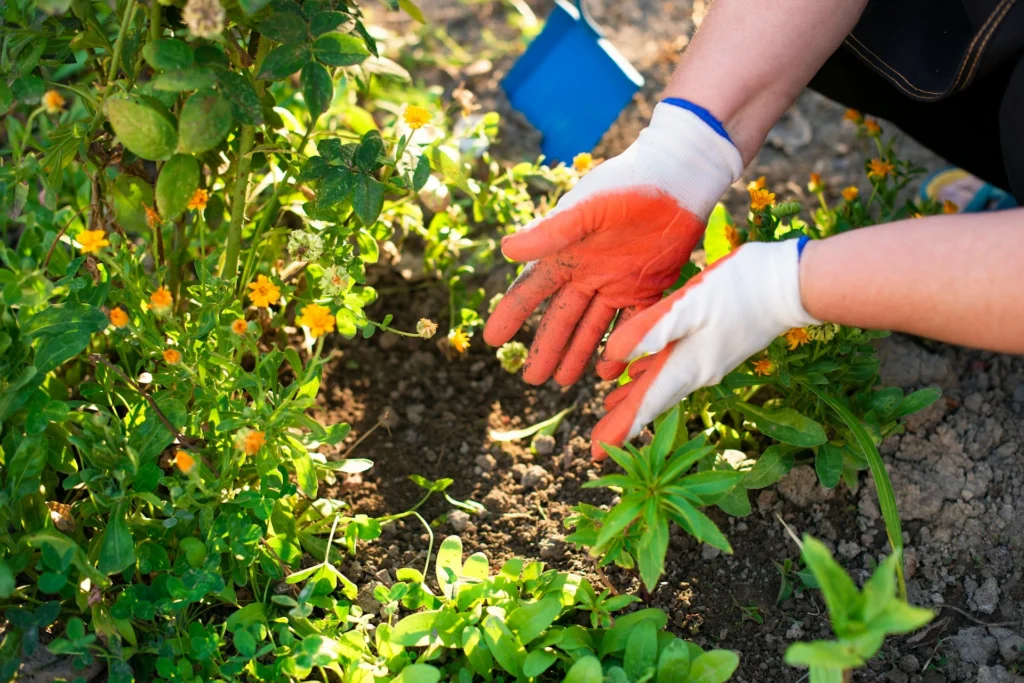
- Before making any contact, put on solid, waterproof footwear and gloves.
- Washing leafy crops like spinach and lettuce after they have come into direct touch with floodwater is insufficient to make sure their safety.
- Before replanting, let the area to completely dry.
Contamination is usually not an issue for water that originated only from rainfall as opposed to flooding.
Step 3: Tackle Soil Composition
When the soil passes the squeeze test, which could be the most harmful effect of high rainfall must be addressed.
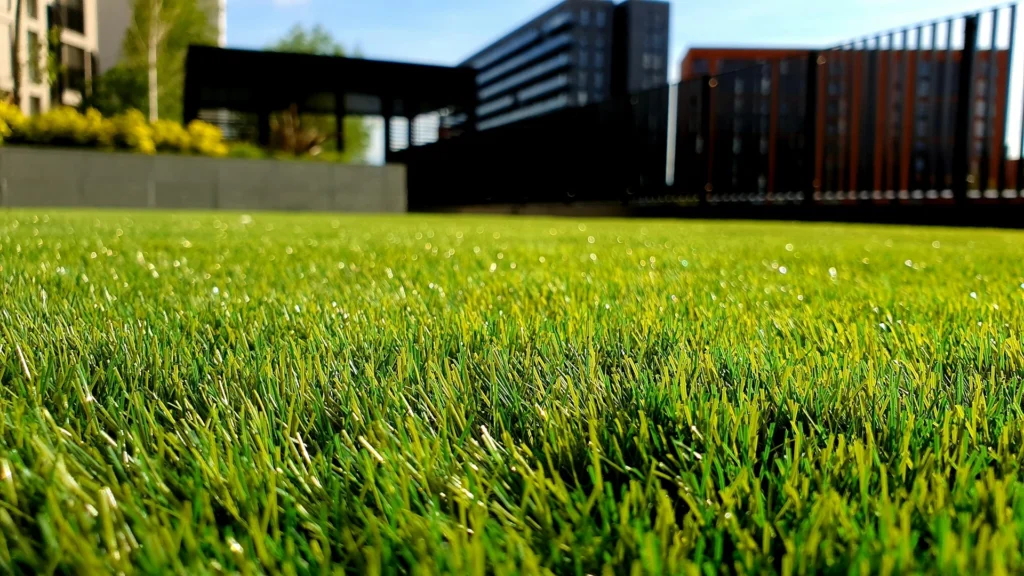
For Lawn Areas
The best method for compacted lawns is core aeration. you remove cylindrical plugs of dirt that are 2-4 inches thick using a core aerator, which you can rent from most garden centers. In contrast to basic spike aeration, the removal of plugs actually releases pressure and opens up pathways for deeper root development and water absorption. Aeration not only repairs the damage caused by a hard rainy season, but it also makes your grass harder to future storms.

Grass seed grows best in direct touch with the loose soil exposed by the aeration holes, so you can managed dry or thin sections after aerating.
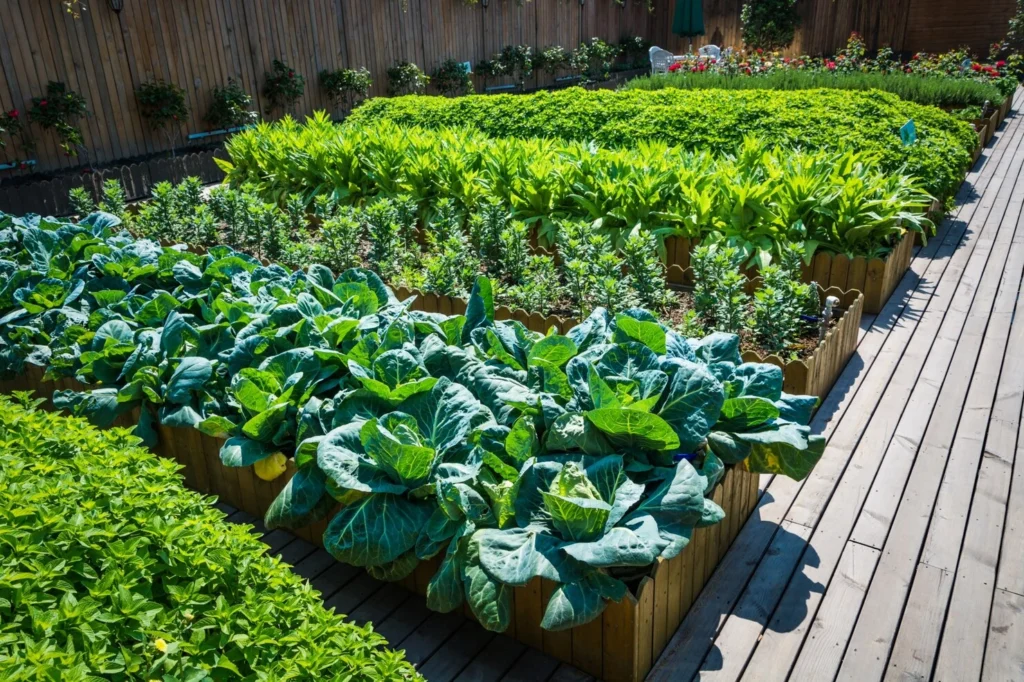
For Garden Beds
To allow packed soil in garden beds, use a garden fork instead of a shovel. you may create air pockets without completely inverting the soil by pushing it in and gently rocking it back and forth. The networks of mycorrhizal fungi that aid in the soil’s natural recovery of pores can be harmed by totally turning the soil.
You can mostly let the earthworms handle compaction repair if you choose a no-dig technique. with time, these amazing organisms will naturally re-aerate the soil, and protecting their natural surroundings by not mining aids in the soil’s quicker recovery than artificial action.
Step 4: Break Up Soil Crust
As the soil dries, take action before it fully closes if you see a hard, grey or brown layer developing on the surface. A sealed surface crust creates a barrier to gas exchange, stops water from pouring in during future rains, and prevents seedling growth.

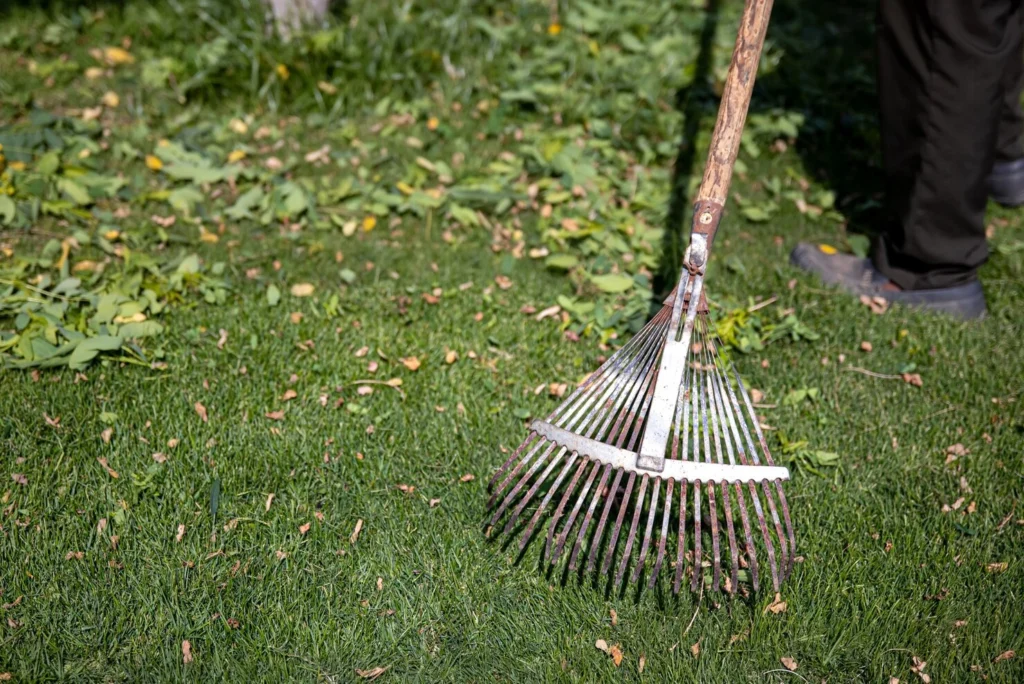
Using a cultivator or garden rake, you may gently break the crust of tiny garden beds, moving only the top inch of soil. A rotary shovel works well on bigger fields, but timing is important. when the soil surface is just above field capacity (crumbles with gentle pressure, leaving only a trace of moisture on your hand), start working. A lot of water increases stiffness, whereas excessive dryness increases dust and increases the danger of seed damage.
The best method for protection is to keep the soil covered with mulch or compost, which absorbs the impact of rains before they may degrade the surface structure.
Step 5: Restore Low Nutrients
Nitrogen and other transportable nutrients are directly absorbed from the root zone by heavy rainfall. It’s time to feed your soil once it’s once again workable.
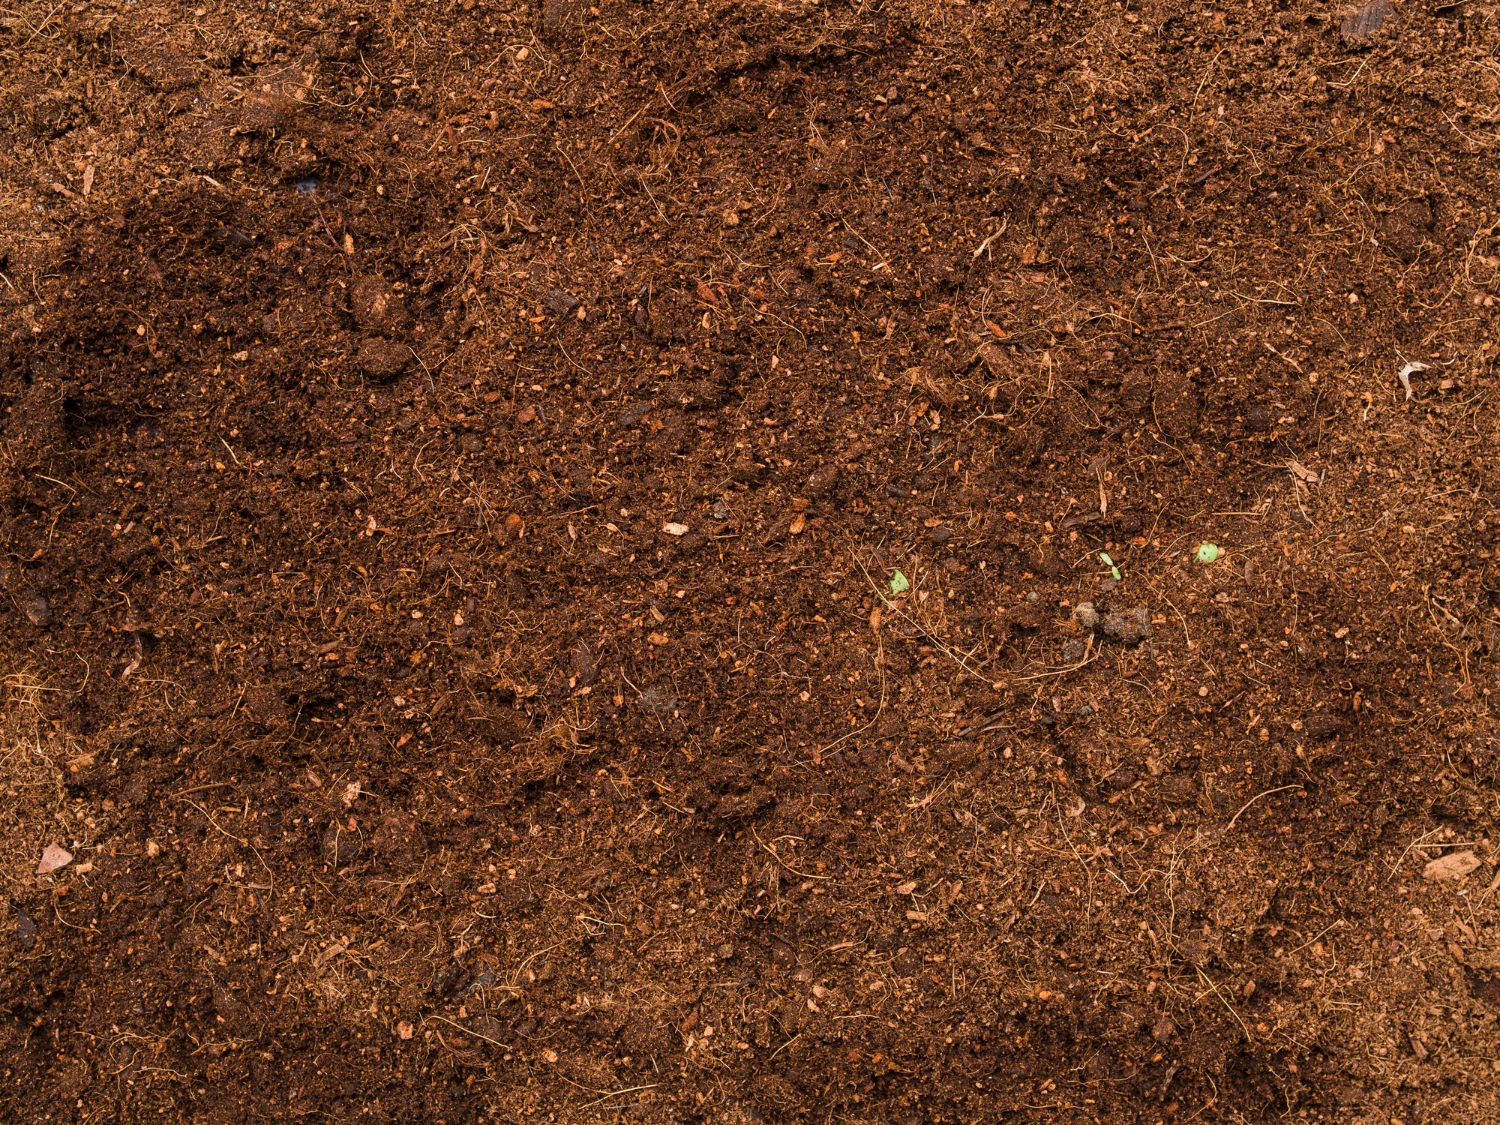
Here, garbage is your greatest friend. you should cover your beds with a layer of well-rotted soil that is two to five cm thick. this improves soil structure and restores lost nutrients by acting as a slow-release sponge. you just lay it on top and let the worms mix it in a no-dig technique.
A few major limitations:
- Don’t use new fertilizer or green stuff only use well-rotted compost. Fresh organic materials may decay rather than break down in damp, low-oxygen environments, poisoning roots.
- Don’t dig in the mud that was left behind by floodwater. after letting it dry a little, cover it with compost and let the biology take care of the rest.
Applying a high-nitrogen fertilizer to lawns during the chilly, wet months can promote deeper grounded and help green damaged grass.
Step 6: Cover the Surface with Sand
One of the most useful items in your post-rain recovery pack is a thick layer of mulch. Spread 5–8 cm around the bases of your plants and throughout your beds to:
- Prevent future the effect of raindrop and hardening on the soil’s surface.
- Control the moisture and temperature of the soil
- Prevent weeds that will grow well in the fertile, wet post-rain environment.
- Reduce loss and stop surface drainage
- As it decomposes, add organic stuff.
Straw, well-rotted bark, and wood chips are all great options. even after fertilizing, stay clear of walking directly on your beds. If you must cross a bed to plant or harvest, spread your weight using a board.
Step 7: Improve Drainage for the Long Term
Improving your drainage system is the true solution if regular heavy rain causes standing water or wet beds. this will prevent the issue from repeating.

Add a lot of organic material
Adding fertilizer, well-drained waste, and leaves on a regular basis is the greatest method for improving drainage in clay soil. the hard clay particles are gradually broken apart by these ingredients, resulting in a looser, more freely draining structure. although this is a multi-season undertaking rather than a one-time solution, the outcomes are remarkable.
Consider Adjustable Beds
Drainage is significantly improved by raising your growing area even a few inches. Instead of collecting around roots, water runs away from them. In addition, raised beds warm up more quickly in spring, thus allowing you to start the season earlier. A circular planting area with paths to prevent foot traffic from entering the growth zone is the most basic type of raised bed.
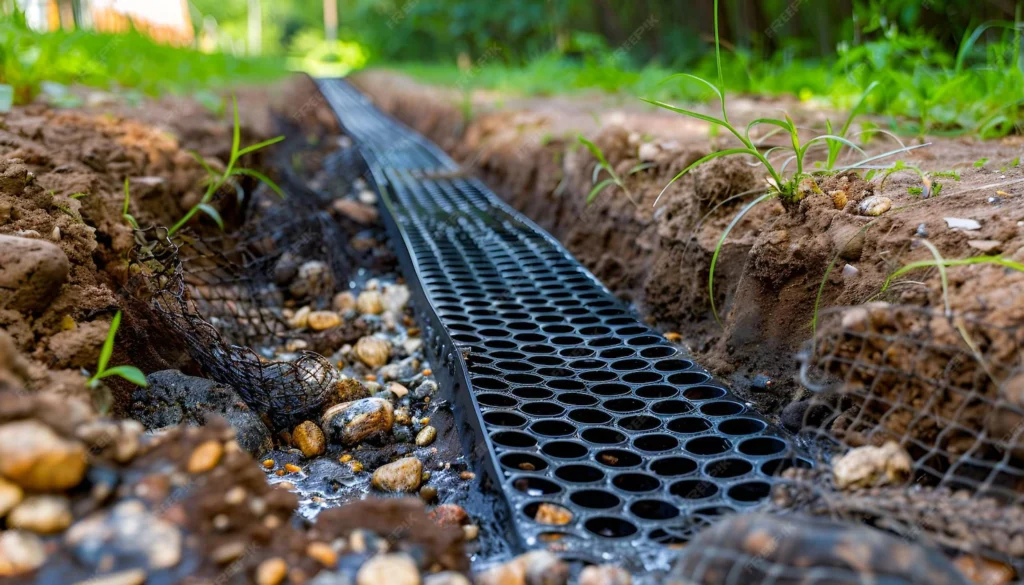
Install Drainage Systems
Installing French drains (underground pipes with holes that redirect groundwater away from the issue region), building surface channels or swales, or hiring a landscaper to figure out whether regrading is necessary to redirect runoff are some options for areas that are consistently wet. these are larger initiatives, but instead of only addressing the symptoms, they address the underlying problem.
Make use of Open Ground Coverings
Installing open sand, pavers, or ground coverings on pathways and places that are prone to pooling enables rainfall to gently absorb into the soil instead of flowing off. additionally, this greatly reduces degradation.
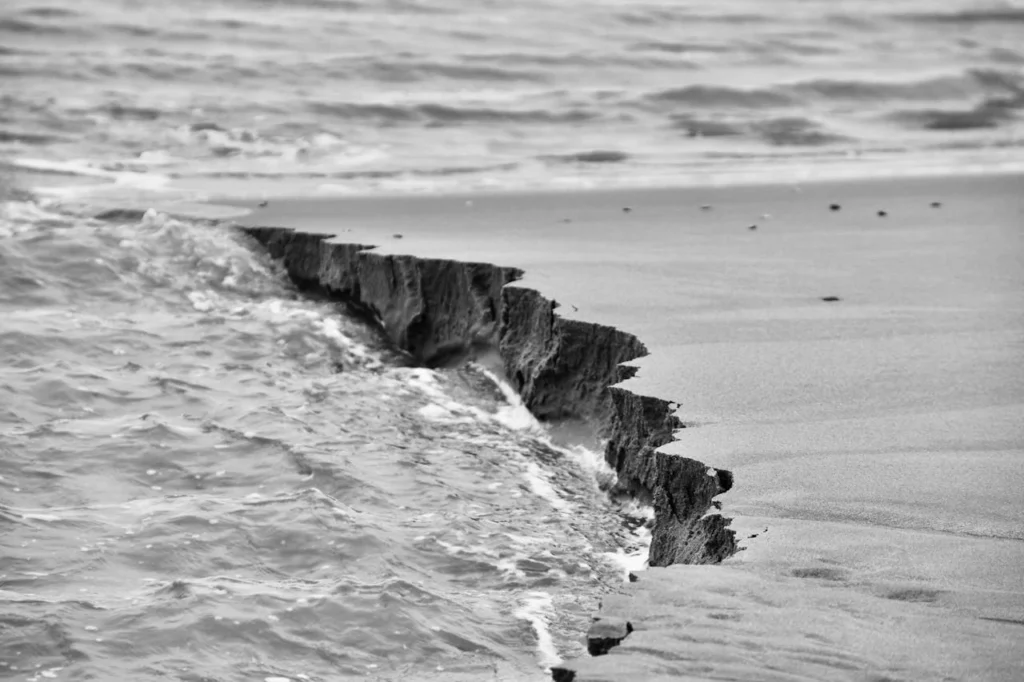
Step 8: Deal with Erosion on Slopes
Heavy rain may remove soil from sloping portions of your garden at a startling rate. to maintain them, follow these steps:
Plant ground covers
The best plants for long-term erosion management on slopes are those with flexible, spreading root systems. Japanese spurge (Pachysandra) for shaded places under trees, spreading phlox for sunny slopes, fescue grasses (shade-tolerant and readily available), and natural groundcovers that are suited to the rainfall patterns in your area are all excellent choices. The root system that keeps soil together improves by a more variety planting.
Apply fertilizer to open areas
The process of erosion disasters are waiting to happen on bare slopes. when it rains, cover them with a thick layer of grass and reseed as soon as the weather allows.
Construct Supporting Structures
Plants by themselves might not be sufficient for slopes higher than 33%. For gradients that are high think about retained walls, sandbags (loose stone slabs that block water flow), or barriers (partially covered logs or stones set across the slope). Instead of allowing water to gain speed and create channels in your soil, these structures redirect it.
Frequently Asked Questions (FAQs)
How long should I wait before working in my garden after heavy rain?
You should hold out until the soil passes the “squeeze test,” then take a handful and squeeze it. It’s ready to work if it breaks when you open your hand. It is still too moist if it sticks together in a sticky ball. This might differ from 2-3 days for sandy soil to 1 to 2 weeks for heavy clay soil, depending on your soil type and the amount of rainfall. Working with wet soil requires patience since it presses the pore structure and causes long-term compression issues.
What is the best way to fix compacted soil after heavy rain?
The best technique for lawns is core aeration, which relieves pressure and restores water and oxygen flow by removing cylindrical plugs of soil that are 2 to 4 inches thick. To gently loose soil in flower beds without completely inverting it, use a garden fork. If you choose a no-dig method, just stay off the beds and let the earthworms take care of the rest. Never try any of these remedies until the soil is workable.
Does heavy rain wash away nutrients from soil?
In fact, particularly nitrogen. Heavy rains carry mobile nutrients well beyond the reach of roots, deep into the soil profile. you should cover your beds with a 2–5 cm layer of nutrient-rich soil once your soil has dried to a workable consistency. this serves as a slow-release sponge for nutrients. during the cooler months, a high-nitrogen fertilizer helps revive lawns. when recovering soil under low-oxygen situations, stay away from fresh or unused waste since it might decay and damage roots.